Bingo is a timeless and entertaining game loved by people of all ages. While pre-made bingo cards are readily available, creating your custom bingo cards with words and images adds a personal touch and an extra layer of excitement. In this creative article, we embark on a DIY bingo adventure, exploring the steps to craft your unique bingo cards adorned with words and images.
Imagining Your Bingo Theme: Setting the Stage
Before you dive into the creative process, envision the theme for your bingo cards. Whether it’s a family game night, a classroom activity, or a special celebration, choosing a theme sets the stage for a personalized and captivating bingo experience. Consider themes like animals, nature, holidays, or favourite movie characters to make your bingo cards truly stand out.
Creating a Bingo Word List: A Vocabulary of Fun
With your theme in mind, it’s time to assemble a bingo word list that aligns with your chosen theme. For example, if your theme is “animals,” include a variety of animal names like “lion,” “elephant,” “penguin,” and more. Ensure your word list has enough diversity to create unique bingo cards, making each game exciting and unpredictable.
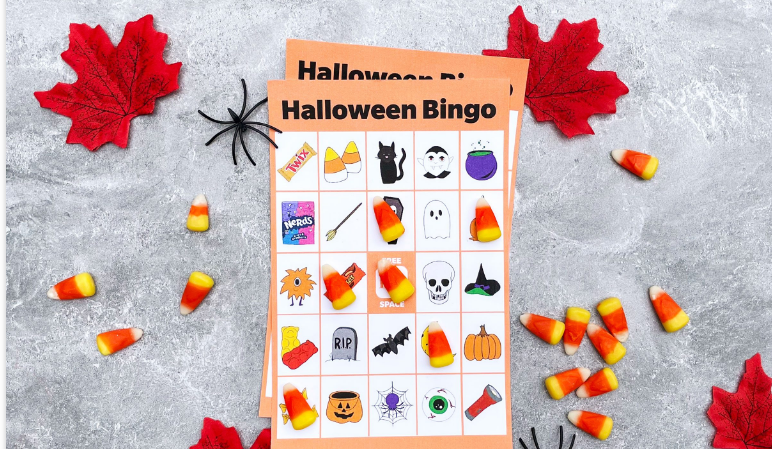
Curating Image Selections: Visual Delights
To complement your word list, curate a collection of images that reflect the theme. You can find royalty-free images online or create your illustrations to add a personal touch. These visual delights will adorn your bingo cards, making them visually appealing and engaging for players.
Grid Design: The Blueprint of Bingo
Now that you have your word list and images, it’s time to design the bingo cards’ grid. Traditional bingo cards have a 5×5 grid but feel free to customize the size to fit your preferences. Use design software or a simple spreadsheet program to create the grid and arrange the words and images in a visually balanced manner.
Randomization: The Magic of Unpredictability
To keep the game fair and exciting, ensure the placement of words and images on each bingo card is randomized. You can use online randomization tools or simply mix up the elements manually before printing. Randomization adds an element of surprise, ensuring no two bingo cards are alike.
Print and Laminate: Bingo Cards That Last
Once your bingo cards are ready, print them on sturdy cardstock for durability. To make them last even longer, consider laminating the cards. Lamination not only protects the cards from wear and tear but also allows you to reuse them for future bingo games.
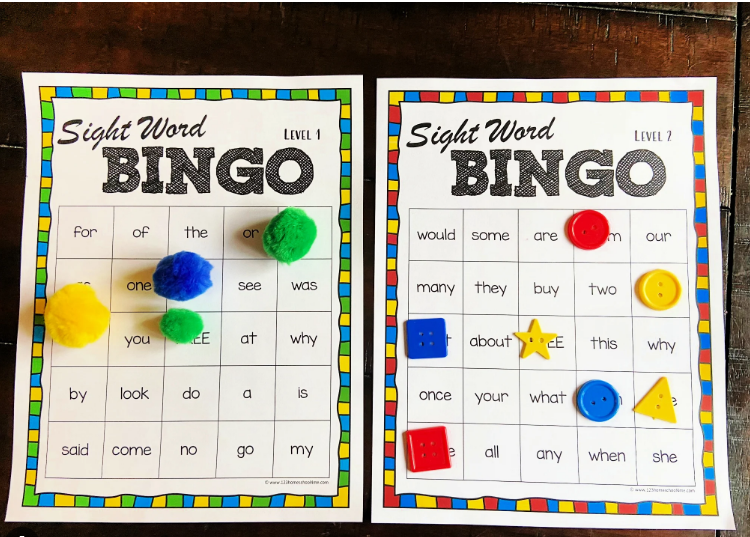
Markers and Prizes: Completing the Bingo Experience
To complete your bingo masterpiece, gather markers for players to use during the game. Classic bingo markers like small coins, buttons, or coloured chips work well. Additionally, prepare some fun and exciting prizes for the winners to add an extra incentive and make the bingo experience memorable.
Conclusion:
As we conclude our DIY bingo adventure, you now possess the know-how to craft your bingo cards adorned with words and images. From envisioning the theme to curating the word list and image selection, each step adds a personal touch to your bingo cards, making them truly unique and captivating.
The grid design and randomization ensure fairness and unpredictability, while printing and laminating make your bingo cards durable and reusable. Don’t forget the markers and prizes to complete the bingo experience with excitement and rewards.
So, embrace your creative spirit and embark on the bingo adventure of a lifetime. Create bingo cards that will bring joy and laughter to family gatherings, school events, or any special occasion. May your DIY bingo cards become cherished keepsakes, treasured for the memories they create and the magical moments they bring to all who play.